Blueberry Cheesecake

I am not quite sure how I completed a weekend full of baking, while also having a 10km race to run. But I made a no-bake Rose Tres Leches and two cheesecakes. One was a Chocolate Cheesecake, which was devoured by all of my running team mates. Second, is this delicious Blueberry Cheesecake, which was a hit with friends and family.

I had to purchase 1kg of cream cheese, so wanted to use up the cream cheese as soon as possible and the cheesecakes are so easy to make. Making up different flavours are so easy. I do love making a marble cheesecake with a mix of chocolate and vanilla cheesecake batter. And other flavours such as mango, strawberries and lemon can be made easily once you know the base ingredients.

(more…)

Rose Tres Leches

Once I tasted the Rose Tres Leches, there was no going back. Using Rose Syrup to flavour the milk mixture, the cake has a beautiful, fragrant rose smell with pale pink colour. Topping it with some strawberries and dried rose petals makes this cake something you keep going back for seconds, and thirds.

(more…)

Queen of Puddings

Queen of Puddings

The recipe for Queen of Puddings is a slightly modified recipe I got from my first ever cookbook. Actually this cookbook was never even really my cookbook to start with, it was just there at my house and because I just loved that single recipe in this book, I’ve lugged it around with me (while moving houses, cities and countries). It’s a really thick, old English cookbook which was printed in 1991 (the cover boasts that it is an ‘All Colour’ Cookbook). I’ve spent hours just browsing the different recipes in this cookbook (it has hundreds) and dreaming of cooking or eating the different dishes.

This Queen of Pudding is delicious to eat and very easy to make. I love this recipe because this was the first ever recipe I made and the nine year old me was given a lot of grief by the meringue and the pudding base. The only thing I probably got right was probably the jam, but I have a vague memory of burning that at some point too.

(more…)

Focaccia with Onion, Rosemary and Chilli flakes


DSCF9425

I have made made this focaccia and I have had a lot of people asking me for the recipe. This recipe is taken from SBS Food, and I absolutely love making it. Mixing the dough is easy, the hard part is waiting around for it to prove.

To serve, you can slice the focaccia in half and fill in with your favourite sandwich fillings. I enjoy eating with sardines or sliced roast beef and cheese. You can simple dip it in some olive oil, or if I am having it a few days after I’ve made it, I toast it and eat it with some salad.

You can find the video of making it on my Instagram story Highlights here.

Ingredients:

  • 500 g strong (bread) flour
  • 2 tsp fine salt
  • 14 g dried active yeast
  • 30 ml olive oil, plus extra for kneading and drizzling
  • 400 ml water
  • 2 tsp salt flakes
  • 1 red onion, thinly sliced
  • 2 tsp dried chilli flakes
  • 1 tbsp rosemary leaves

Method:

  • Combine the flour, salt and yeast in a bowl. Combine the olive oil and water in a small jug and slowly drizzle the oil mixture into the flour, mixing with your hands to create a sticky and shaggy dough. Knead the dough by stretching and folding it on itself. Don’t worry if the dough is super sticky at this stage.
  • In a 30cm x 20cm rectangular pan, drizzle olive oil generously. Place the dough in the pan, and then knead the dough for about 5 minutes, in the oil. Cover the tray with a tea towel and leave it to prove in a warm place for about 30 minutes.
  • After proving, fold the dough on itself again. You can add a bit more olive oil in the pan if desired, and fold in the dough, absorbing all the oil. Leave the dough again to prove, for about 30 minutes to up to an hour, until it has doubled in size.
  • Turn the dough over in the tray to cover it in oil. Press the dough down in the pan to fill it in. Make small dents in the dough with your fingers and drizzle with olive oil. Then gently press the onion into the dough and top with chilli flakes, rosemary leaves and salt flakes. Cover and rest again, for further 30 -45 minutes.
  • Meanwhile, preheat the oven to 220 degrees Celsius. Bake the focaccia for about 20 minutes, until golden brown, and is hollow when tapped.
  • Serve warm. It will store in an air-tight container for about 5 days (toast it if it lasts this long) but best eaten within 2 days.

Spinach and Ricotta Cannelloni

Spinach and ricotta cannelloni

This recipe has become a crowd favourite among our friends due to my husband’s eagerness to cook cannelloni. Which suited me perfectly, because it meant this recipe was getting tested multiple times before I got to share it with you.

This Spinach and Ricotta Cannelloni has become somewhat of a staple on our dinner menus. It is the easiest thing to whip up, because of it’s everyday ingredients. And anything that tastes like pasta, I am a fan.

DSCF7338

Ingredients:
Tomato sauce:

  • 1 tablespoon olive oil
  • 1 brown onion, finely chopped
  • 1–2 garlic cloves, chopped
  • 400 g tin chopped tomatoes
  • 1 tablespoon tomato paste
  • 1 teaspoon brown sugar
  • 1/4 tsp nutmeg
  • 1/2 cup water
  • 2 tablespoons chopped fresh basil

Filling

  • 90g baby spinach, roughly chopped
  • 300g fresh ricotta
  • 1 egg, lightly whisked
  • 1 clove garlic, crushed
  • 1/2 cup grated cheese (plus extra for serving)
  • Salt and pepper to taste
  • Cannelloni shells (recipe fills about 15 shells)

Method:

  • Pre-heat the oven to 180 degrees Celsius.
  • First make the tomato sauce. Heat olive oil in a saucepan, and add onion and garlic and cook for 2-3 minutes.
  • Next add the chopped tomatoes, tomato paste, sugar and water. Bring to boil and then simmer for about 20 minutes until the sauce thickens slightly. When the sauce is almost ready, add the basil leaves and then season with salt and pepper to taste. Remove from heat.
  • Next make the filling.
  • Place the spinach, ricotta, egg, garlic and cheese in a bowl and mix until combined. Season with salt and pepper. Fill the cannelloni shells with the ricotta and spinach mixture (you can place the mixture in a piping bag and pipe it or or spoon it in). Place the filled shells on in a single layer in an oven-safe tray and then top with the tomato sauce. Cook in the oven for about 40 minutes or till the shells are cooked. Serve topped with extra parmesan cheese.


Strawberry and Thyme Jam

DSCF5518 (1)

An unexpected pairing, strawberry and thyme, but tastes delicious. Everyone that I’ve mentioned this jam to, has a little look of wonder and surprise at first at this combo, but has never failed to love this. But the best thing about this is it’s home made.

There were a few misconceptions that had stopped me from attempting homemade jam. First of all, the sterilising jars seemed like such an effort, but once I did it, it actually wasn’t that hard. I also thought I would need to cook the jam for ages, but this isn’t the case either. And I always thought I needed a LOT of fruit to make jam and I would be left with jars and jars of jam. But I could easily make a batch with a packet of frozen strawberries. After this, I felt I could make jam every weekend!

Sterilising Jars:
I am going to put a little note on this so you don’t have to go and search somewhere else on how to do this.
– Wash jars and lids with warm soapy water.
– Place the jars in a large pot of boiling water and for 10-15minutes. Drain on a tea towel and pop them in the oven to dry. Alternatively you can sterilise them in the oven. After washing the jars, pop them in the oven at 120 degrees Celsius for about 15 minutes.
– Make sure the jars are warm when you pour in the jam.

DSCF6580

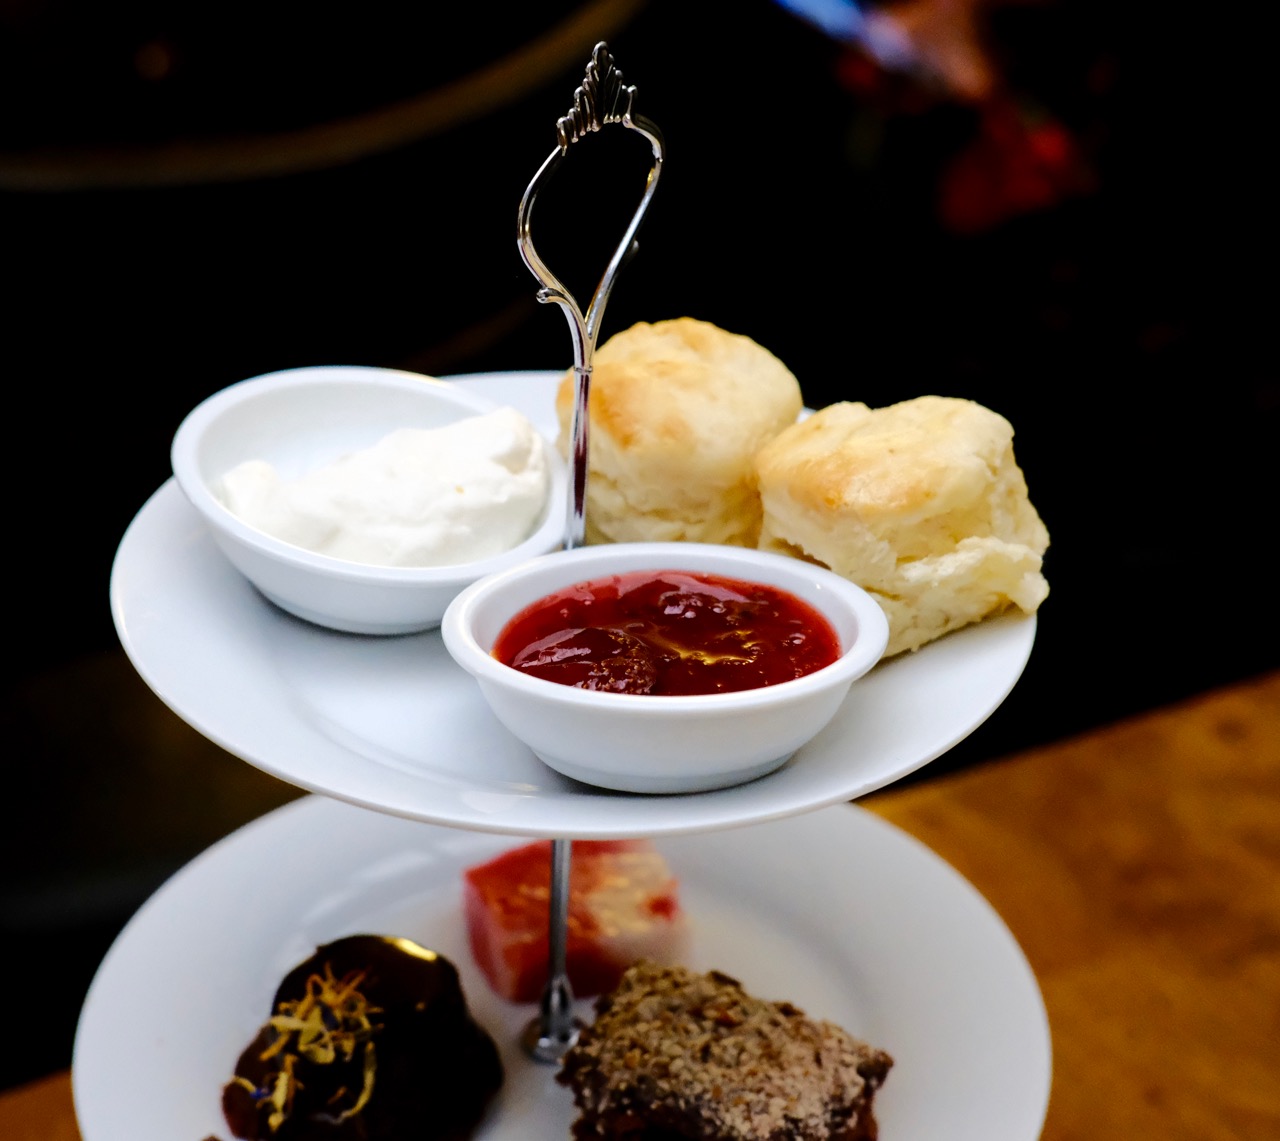
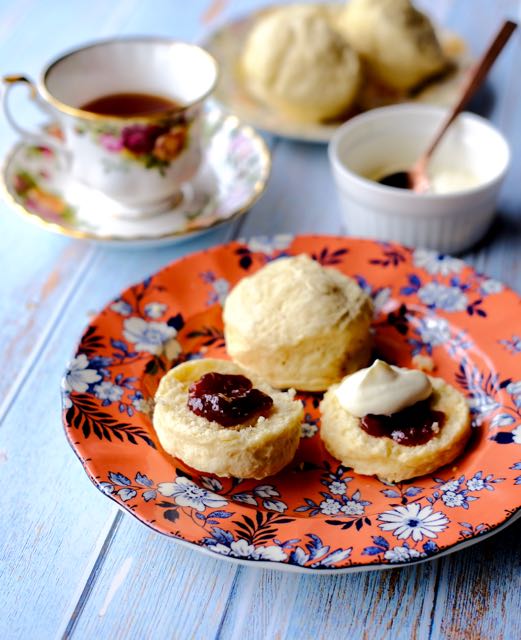
I made this jam to serve with scones when I did Tea Time with Thooha with Jazz Cafe in the Maldives. While we were making the jam, we had plenty of eager taste testers. To the point where we had to forbid any more enthusiastic taste testers in case we ran out for the actual event! It goes really well with a lovely scone, but I equally love it on toast.  Or would be delicious as a doughnut filling!

Strawberry and Thyme Jam
Make about 700ml jam

Ingredients

  • 500g strawberries (frozen, sliced)
  • 450g caster sugar
  • juice of 1 lemon (30ml approximately)
  • 5 sprigs of thyme

    Method:
  •  Place strawberries, caster sugar and two pieces of thyme in a big saucepan. Mix well. Then add lemon juice and mix. Let the strawberries macerate for about 1-2 hours.
  • Place the saucepan over medium heat, stirring until sugar dissolves. Then bring the mixture to boil and cook for about 5-10 minutes. When cooked for about 5 minutes, add the rest of thyme leaves.  Cook the jam till it comes to 105 degrees on sugar thermometer OR spoon a little jam onto one of the cold saucers. Leave for 30 secs, then push with your finger; if the jam wrinkles and doesn’t flood to fill the gap, it is ready. If not, turn the heat back on and boil for 2 mins more, then turn off the heat and do the wrinkle test again. Repeat until ready. 
  • Spoon jam into sterilised jars. Leave the jars out to cool and then store in refrigerator for up to 3 weeks. 


Food of 2018

It’s 2019 tomorrow! I love New Year’s Day. It has such a fresh feeling about it. Full of possibilities and resolutions, and I do love making New Year Resolutions. It’s nice to start the year with goals and ambitions.

My resolutions always include food (as well as reading and fitness resolutions). And they do evolve over the year. Some become a bit more realistic, some breaks into smaller goals and some, I have to let go as I realise I’m not prioritising it as much as I thought I would.

One of the biggest things I learnt this year was to focus on one thing. And try not to do too much. I didn’t stop doing some other things I love, like painting, but I did start giving a 110% for my food and blog this year, and I can see the difference. I loved the connections I’ve made this year, with different foodies, and been able to share more and more of my favourite recipes.

(more…)

Chocolate Cake with Chocolate Cream Cheese Icing

Chocolate cake with Chocolate cream cheese icing

This recipe came about with the need of finding a fudgey and chocolatey, yet easy chocolate cake recipe. Having a recipe that only requires a couple of bowls and a whisk is certainly handy when you’re baking a quick cake on a week night.

The winner here is the Cream Cheese Icing. The sour-ness of the cream cheese balances the rich cake. One of my friends said she could eat a whole bowl of just the Cream Cheese Icing, and I agree! I kept licking and ‘taste-testing’ the icing as much as I could.

(more…)

Chai Brûlée

Chai Brûlée

This recipe is for my Chai girls. We love a good cup of chai, cooked in a saucepan with delicious spices and sweetened with condensed milk. The longer it’s cooked, the better it tastes. We enjoy our chai as much as we enjoy watching the latest Bollywood hit.

The first time I made a creme brûlée, the custard did not set. I didn’t know how long I should cook it for and I was so scared of having the oven temperature too high and over-cooking the custards. My success came when I tried the Lavender Creme Brûlée by ZoeBakes. Check out her videos on Instagram for some really useful creme brûlée tips!

(more…)